GoPro Tips for Better Underwater Video
By Jill Heinerth
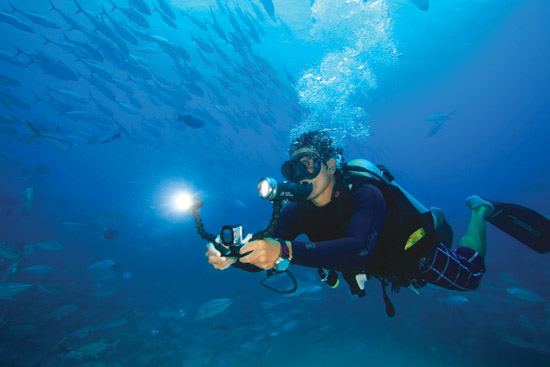
These days, it seems that most divers own a GoPro or similar small sport camera. These little devices are awesome for traveling light and capturing great underwater moments. Yet, sometimes unavoidable small and large disasters get in the way of bringing home the best possible footage. Here are four of my best tips for correcting and recovering your sport camera’s footage.
How to recover a flooded GoPro
Some people say that everyone will eventually flood an underwater camera. Most of the time water and electronics don’t mix, but GoPro cameras are surprisingly resilient if the emergency is handled quickly and effectively.
- If you see bubbles coming out of your housing or see water sloshing around in the housing, safely exit the water as quickly as possible.
- Remove battery and memory card from the camera immediately and set them aside.
- Rinse the camera and card in clean, filtered tap water. (If water is not filtered, then mineral residue may disrupt contacts.)
- Discard the battery in an environmentally responsible way.
- Shake out excess water.
- Dry the camera with a towel while being careful not to scratch the lens.
- Place camera inside a ziplock bag, partially filled with white rice. (The rice will act as a desiccant, helping to wick up moisture.)
- Allow time to fully dry. This can be achieved in several ways: in a sunny car for one day, in air conditioned room for two days, at room temperature for two weeks, or use a hair dryer or vacuum cleaner to cheat a bit and assist in faster dry times.
- Buy a fresh battery. If you use a battery backpack, install your fresh battery in the backpack and press the button to test. The green lights will illuminate if it is okay. Test the backpack on the camera. If you don’t use a battery backpack, then reinstall the card and battery and test the camera.
If your camera was flooded in fresh water there is a good chance this process will restore the camera to its former glory. If it was flooded in salt water, it still may work as long as the battery was removed quickly and the camera was rinsed immediately. Salt water flooding is, obviously, a more serious event than fresh.
If you do not have success recovering your camera following the above steps, then try cleaning any electrical contacts with a product such as DeOxIt Gold.
Be sure to test the housing for leaks (without installing the camera) before taking your camera on your next dive.
How to correct blue footage
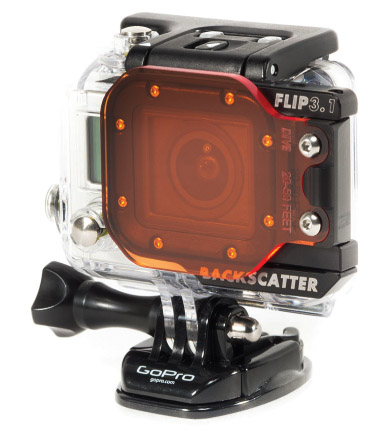
You can correct for the blue tint of water by using a special red filter made by numerous manufacturers. You can also upgrade to a better filter system such as the Red Flip Filter from www.backscatter.com
This filter has a series of different colors that can be flipped into position based on your depth.
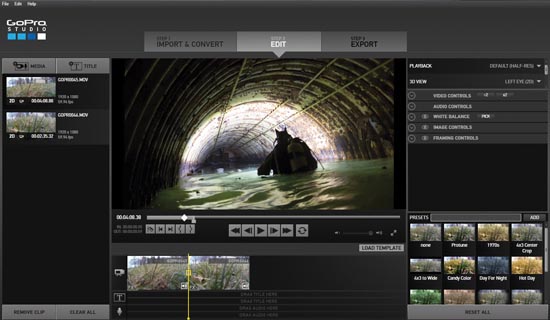
If you already have the footage ‘in the can’ you can color correct using your favorite editing program. GoPro offers the CineForm editing plug-in as a free download from their website. Other programs such as FinalCutX or Abode Premiere offer even more features.
There are a few simple steps you can employ using editing software to make your footage look more like the way you intended when you captured it:
- Use a sharpening filter.
- In the white balance tool, move the slider slowly from blue towards yellow until it looks right to your eye. You are warming up the image by lowering the color temperature.
- Slide the tint tool from green towards red/magenta.
- Look at the highlights in your image to ensure you have not gone too far and tinted them pink. Continue to adjust each slider until it looks right.
- Increase the contrast.
- Shift the exposure slider to brighten up the shot.
- Review the entire shot sequence to ensure that your corrections appear consistent throughout the entire range of light in the shot.
- Work in short clips for color correction. Attempting to correct a long sequence might take significant system memory and time.
 How to steady your shots
There is nothing worse than watching GoPro footage shot from a helmet or mask mount. It might seem like a great idea, but the reality is that we move our heads around too much to create stable footage. Your viewers will get seasick watching your clips. There are several ways to steady your footage:
- Breathe deep and swim slowly.
- Pan the camera very slowly with deliberate moves.
- Use a tray with built in handles and lights such as those sold by Light and Motion.
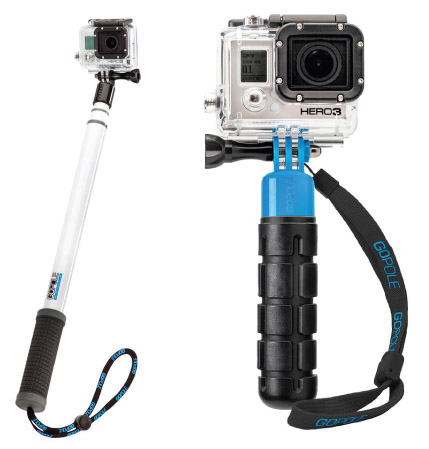
- Use an extension pole such as the GoPole Evo floating extension pole to film forward or make whole-body selfie footage. If you drop it, you won’t lose your camera as long as you follow it to the surface! www.gopole.com
- Use optical stabilizing features in editing programs that smooth out some jerky movements.
How to remove water spots
It’s really fun to shoot at water level when your buddy leaps off the boat. It’s also fun to shoot in the rain, on the waterside and in the sprinkler system. But, water spots can really ruin your footage. If you are shooting at water level, it is unlikely that you can dry your camera with a towel and ask for a reshoot. The easiest way to quickly clean the lens and start over is to lick it a couple of times. This is also a self-test to see if you are a serious videographer! (Yes. With your tongue! Saliva on your fingers won’t work quite as well.) It removes spots effectively and sheds the water on subsequent takes. When you download your footage later, you’ll have a good laugh looking at all your crazy tongue shots!
The GoPro camera has revolutionized underwater video shooting by putting small and capable devices in almost everyone’s dive bag. There is no telling where this technology will take us next, but in the interim, a few small tips will improve your footage and help you recover your video masterpiece from a bad day out.
