Audio – The Other Half of a Great Video
By Jill Heinerth
Like many of you, I am focused on capturing the most beautiful underwater images and videos possible. While swimming through a rowdy pack of sea lions, or gliding through a virgin cave, I am mesmerized by the visual grandeur of our submerged world. As an underwater videographer, I seldom consider the audio aspects of shooting. There are the usual sounds of releasing bubbles, and the occasional surprise of a whale song, but generally, I am focused on visuals, not sounds. However, when called upon to shoot topside interviews and b-roll to complete a video, it is essential to get the best audio possible.
Lucky for me, my husband Robert has been involved in pro audio for decades. He started his journey mixing live concert sound for several well-known musical acts and has applied that skill set to our video projects. Each time I set off on an expedition, he equips me with the latest portable audio gear and a reminder to get the best location sound that is reasonably possible in each situation. The key phrase here is “reasonably possible”. On most expeditions, we divers don’t have the luxury of a dedicated sound person. We are usually a one-person operation and must not only capture video, but also act as field audio tech. There are dozens of combinations of mics, cables, booms, mixers, and other pieces of audio equipment available, but I am going to stick to the basics to help improve your video production’s sound.
In-camera
The first, but not the best, option is to use in-camera audio. Canon, Nikon, and Panasonic blow their budgets on the video performance of their cameras, but audio performance seems to be an afterthought. An external microphone is preferable. If you use this option, plug in headphones so that you can hear the input and adjust levels appropriately.
Shotgun
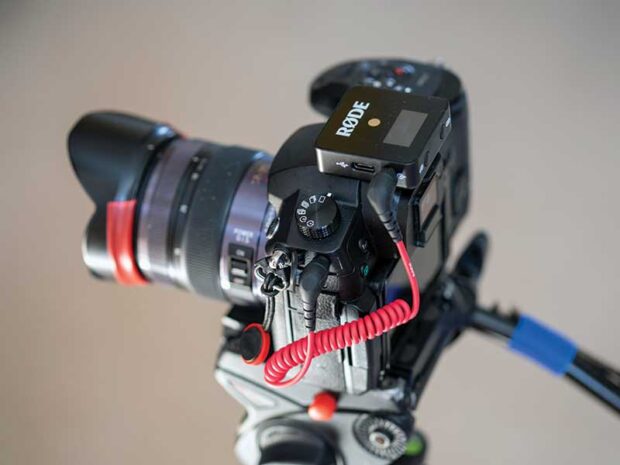
You have probably heard the expression “running and gunning”. In video production, this means grabbing scenes on the go, as in documentary films, sporting events, and breaking news stories. I use shotgun-style microphones mounted on the accessory shoe of my DSLR for this. Good shotgun mics are available from Rode, Deity, and Sennheiser. The trick with shotguns (as with any mic) is to get close to your subject. Familiarize yourself with the ‘polar pattern’ or coverage area of your microphone. Shotguns tend to have a narrow, directional, front-facing pattern.
Wireless
When shooting interviews, I prefer using wireless mics. The most common types are ‘Lavalier mics’. These small microphones are clipped discreetly to the subject’s clothing with a thin cable leading to a miniature transmitter called a ‘body pack’. The transmitter sends a wifi or radio signal to a receiver that is attached to a field mixer or directly into your camera’s audio input.
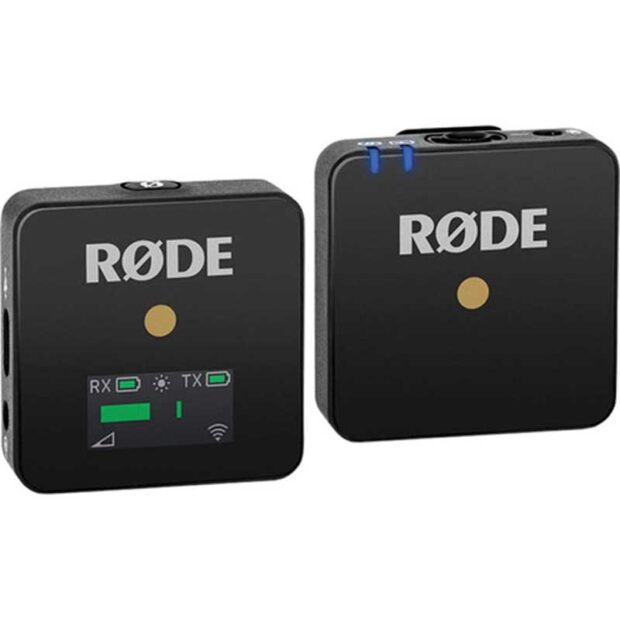
The newest wireless microphones on the market have an all-in-one transmitter with a built-in microphone, eliminating the need for a cabled Lavalier mic. I’ve been using the Rode Wireless Go set, and it seems to be a high-quality solution. Shure, Saramonic, Deity, and others are launching similar devices. If these wireless combo kits work as advertised, they will be audio game-changers.
Field mixer
The next audio solution, a field mixer, is a bit more complicated but provides the best quality and control. I use a Zoom H5, but there are other models available for a range of budgets. I like the H5 because it can accept multiple inputs including XLR, 1/4 inch, and mini-jack inputs. It gives me a way to monitor the audio with headphones and features multi-track modes, gain control, compression, and low and high-cut filters. Using a field mixer takes some practice, but once you have mastered it, you will prefer the quality over other methods. When using a field mixer, the audio must be ‘synched’ in post-processing. Make a habit of having the subject clap at the beginning of the sequence. When you edit, match the waveform of the clap with the audio from the camera. (Or go all-Hollywood and use a fancy clapboard!)
Gain
No matter how you capture audio, there is one important consideration to get it right. The strength of the audio signal sent to your camera is called ‘gain’. Turn your camera’s audio controls all the way down to the minimum setting and control the strength (or gain) of the signal with the microphone, receiver, or field mixer. The camera’s native audio is low quality and ‘noisy’. The pre-amps in wireless receivers, most mics, and field mixers are far superior to your camera and will deliver clean, quiet signals. If you forget to lower the camera gain, you will hear buzzes, hum, and interference in your recording. If your camera has Automatic Gain Control (AGC Setting), turn it off and use the manual control selection.
Audio is a broad subject, but these basics offer a great start. There are thousands of useful audio resources online, on Youtube, and in technical books. I hope you will pursue some of these techniques and add great sound to your next video production.
Into the planet Jill’s biography can be purchased now through Amazon.
Leave a Comment